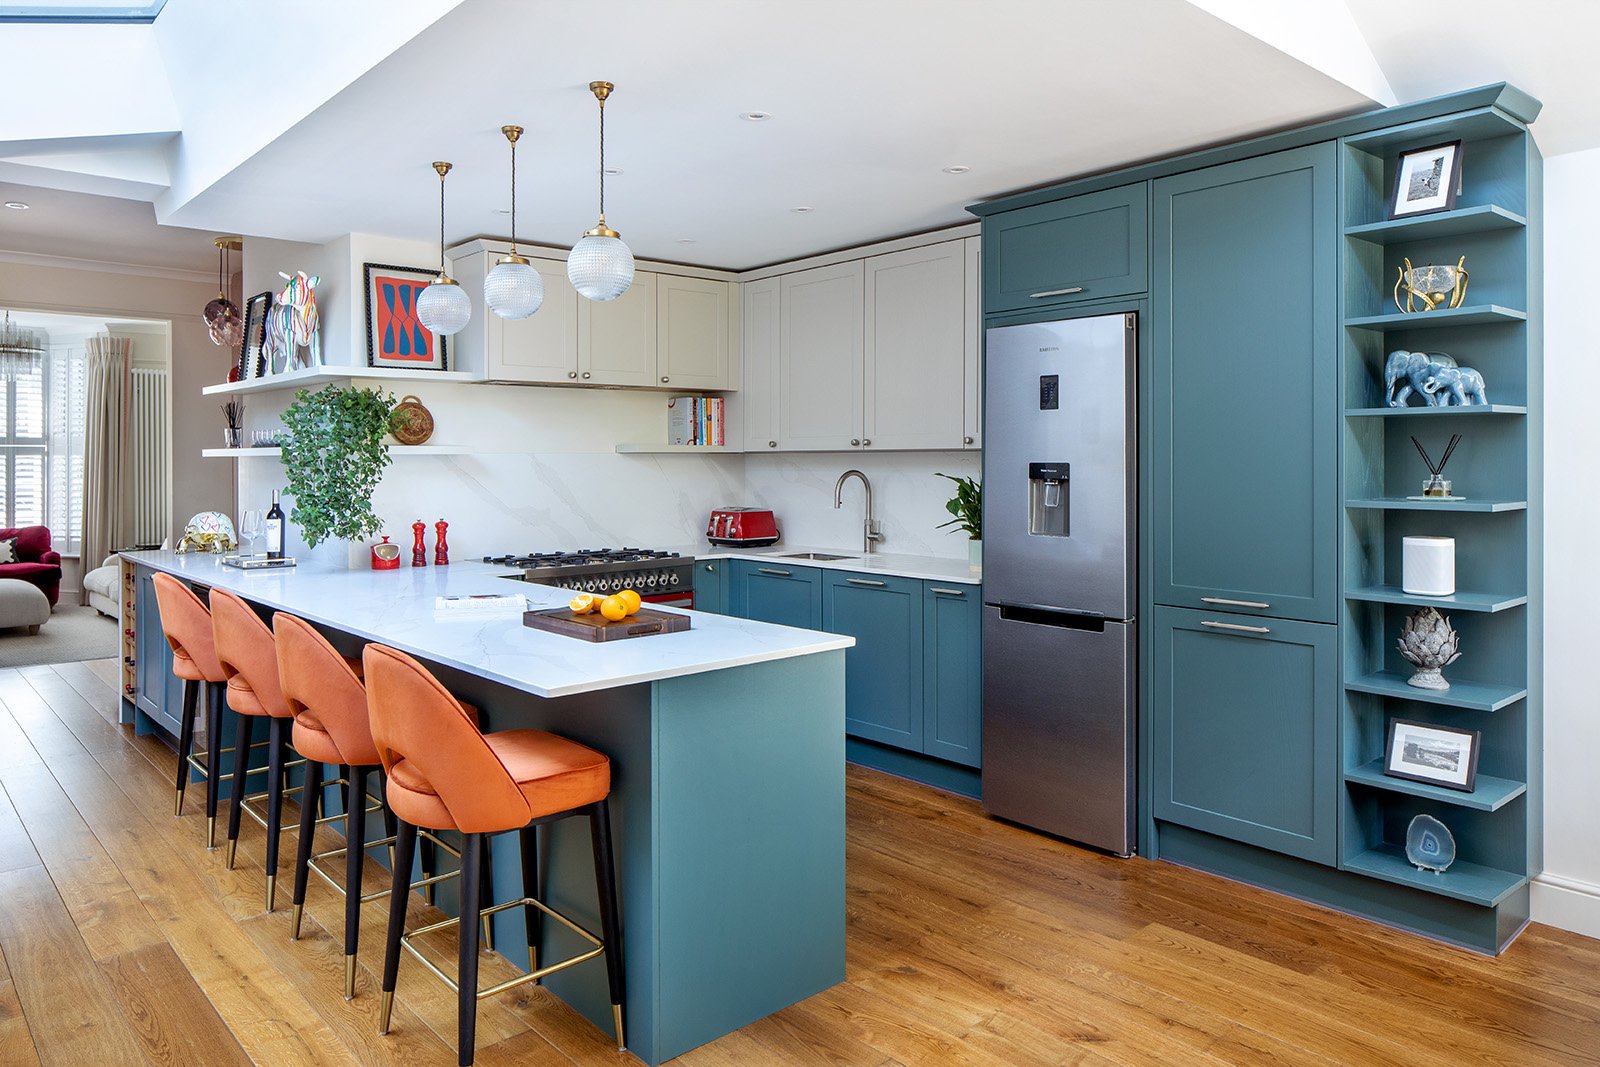
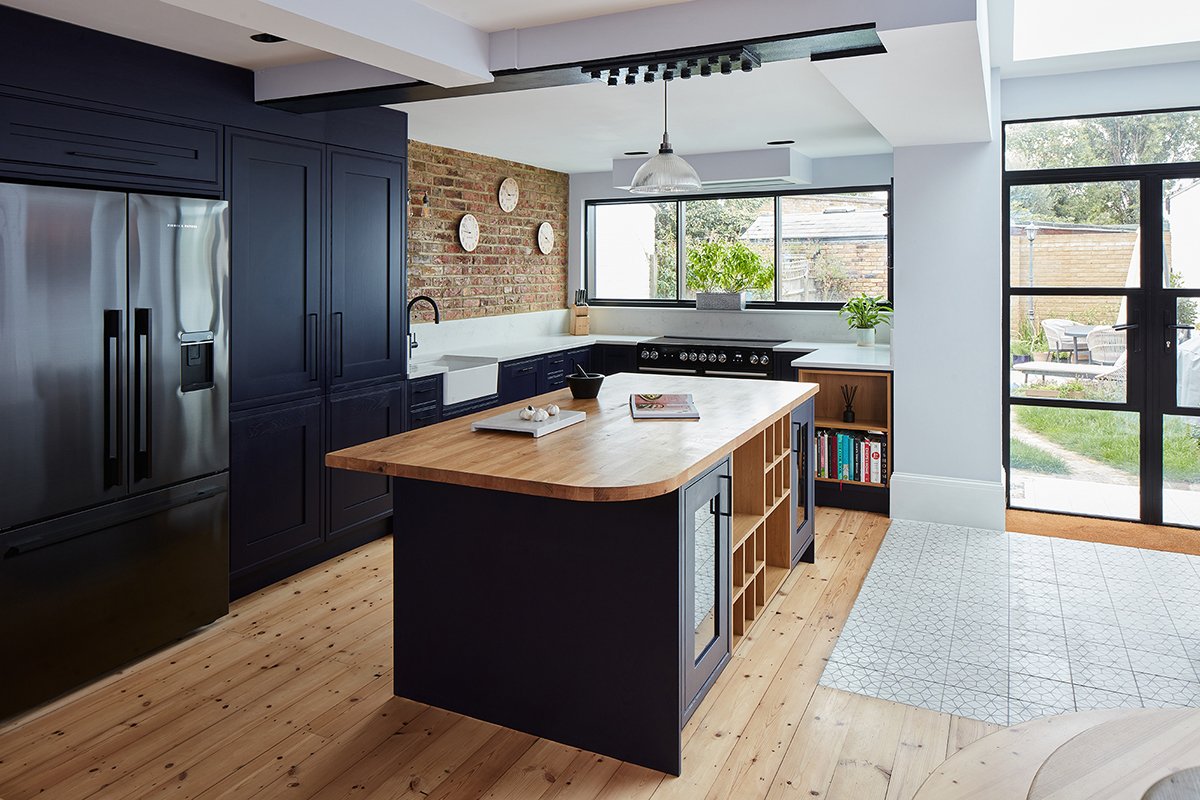
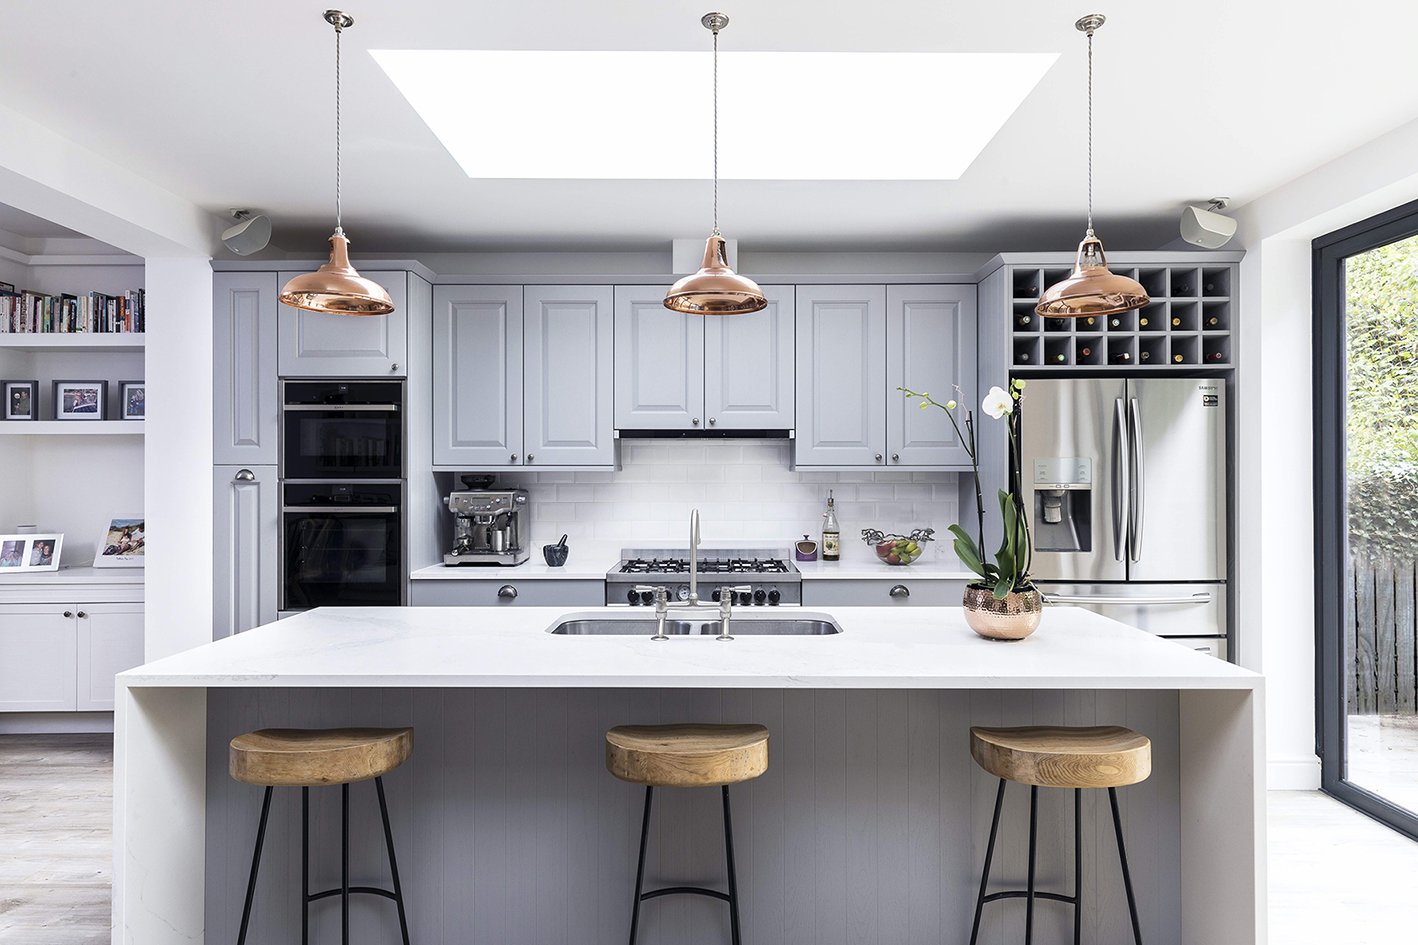
How to plan your kitchen layout with the 6 zones method
Whether you consider yourself an interiors aficionado or not, you’ve probably come across the ‘kitchen triangle’ as you’ve started to look into kitchen layouts. The method arose out of a need to reduce unnecessary steps between kitchen appliances but has since evolved to meet today’s more complex kitchen requirements.
What is the kitchen triangle?
Developed in the 1940s, the ‘working triangle’ method arranged the fridge, oven, and sink in a triangle formation. The result? Reduced steps between kitchen appliances and enhanced kitchen efficiency. It all comes down to splitting your kitchen into areas of specific functionality.
We’ve come a long way since the 40s — and so have our kitchens. The complexity and quantity of appliances on the market has grown, and with this, our kitchens have outgrown the triangle method. But the importance of plotting out your kitchen areas depending on how you use them before jumping into aesthetics has never shifted.
But today’s kitchens are far more complex and so the simple triangle has been replaced with what we call zoning.
What is kitchen zoning?
Having an easy-to-navigate kitchen can make your everyday life a whole lot easier and that comes down to clever planning. Zoning is breaking your kitchen space up into different ‘zones’ allocated to specific tasks. Typically kitchen designers will work using a 5 zone method but whilst the number of ‘zones’ that makes for the ‘best designed kitchen’ is up for debate, we think 6 zones is ideal.
What are the 6 kitchen zones?
1) Consumables: This is where you store your food. You might split this further into two zones — one for refrigerated food and one for pantry goods if you really need to but ideally they sit together. By keeping all consumables in one zone, you’ll be able to unload shopping and get ingredients when needed, easily.
2) Non consumables: Here is where you store everyday items, from plates and bowls to glasses and utensils. Whilst having these items stored near the dishwasher or sink is helpful for putting things away, these items are likely to be split into smaller zones depending on their use. For example: pans and utensils will always be near the hob and mugs near the coffee/tea area.
The key for both consumables and non consumables is to consider the way you use your kitchen on a daily basis. For example: you may have a spice drawer next to the hob or a pullout for oils if you do a lot of cooking. Efficient storage designed around your needs is far more important than the amount of cabinets that can be crammed in to ‘make the most of the space’.
3) Cleaning: This area houses the sink, dishwasher, and bin. It’s ideal to have all of these appliances and items grouped together to make cleaning more efficient.
4) Preparation: This is where most of your kitchen prep happens, usually on a stretch of countertop or your kitchen island. This can become an area that blends into the leisure zone — so having it facing toward your guests or family is something to keep in mind.
5) Cooking: Love cooking? This is a good place to start your zone mapping, and work on other areas from there. If you like sociable cooking, then you might choose to put your hob on the island which will impact your entire kitchen layout. If you’re not having a range cooker, the oven is usually in a tower and you should strategically consider positioning this with a worktop near it so you can take dishes out easily. The microwave will usually be integrated into the second oven or integrated into the pantry. Your cooking zone rarely houses all cooking items, they are strategically spread out in a way that works best for you and your lifestyle.
6) Leisure: This is where the magic happens. A more recent addition thanks to open-plan kitchens, this zone has become a much-loved casual eating spot from day to night. This is an area you could keep free for casual eating, drinking, homework, baking and even arts and crafts.
How to design a kitchen using the 6 zone method
When designing a new kitchen, we’d always recommend working with a kitchen designer to help you get the most out of your space. When planning your new kitchen, remember to talk with your designer about what you want to use the space for — and what your priorities are. For example, if you’re a keen cook you might want to prioritise having a larger hob and prep space compared to someone who prefers quick and easy meals.
A good kitchen designer will be able to assess your space to establish the best layout for your kitchen that best fits with your everyday needs, curating a smooth flow from one zone to the next. Everyday life made easier.
These 6 kitchen zones are a great starting point for kitchen design but they’re not strict — they’ll often overlap or weave into each other depending on the layout of your space. The important takeaway is that the functionality and layout of your kitchen are critical to get right before you start thinking about colours and worktops.
It’s a much more sustainable and cost-effective approach too. If you get the layout right, you’ll have far less need to change the fundamentals of your kitchen later on, giving you the option to update the aesthetics without having to spend a fortune.
If you’d like help designing a kitchen space that suits your daily lifestyle, please do reach out to us — we’d be happy to help.


